We are excited that you are using Maxwell! This article is to assist in getting your account setup and personalized to your liking.
Accepting the Invite and Setting a Password
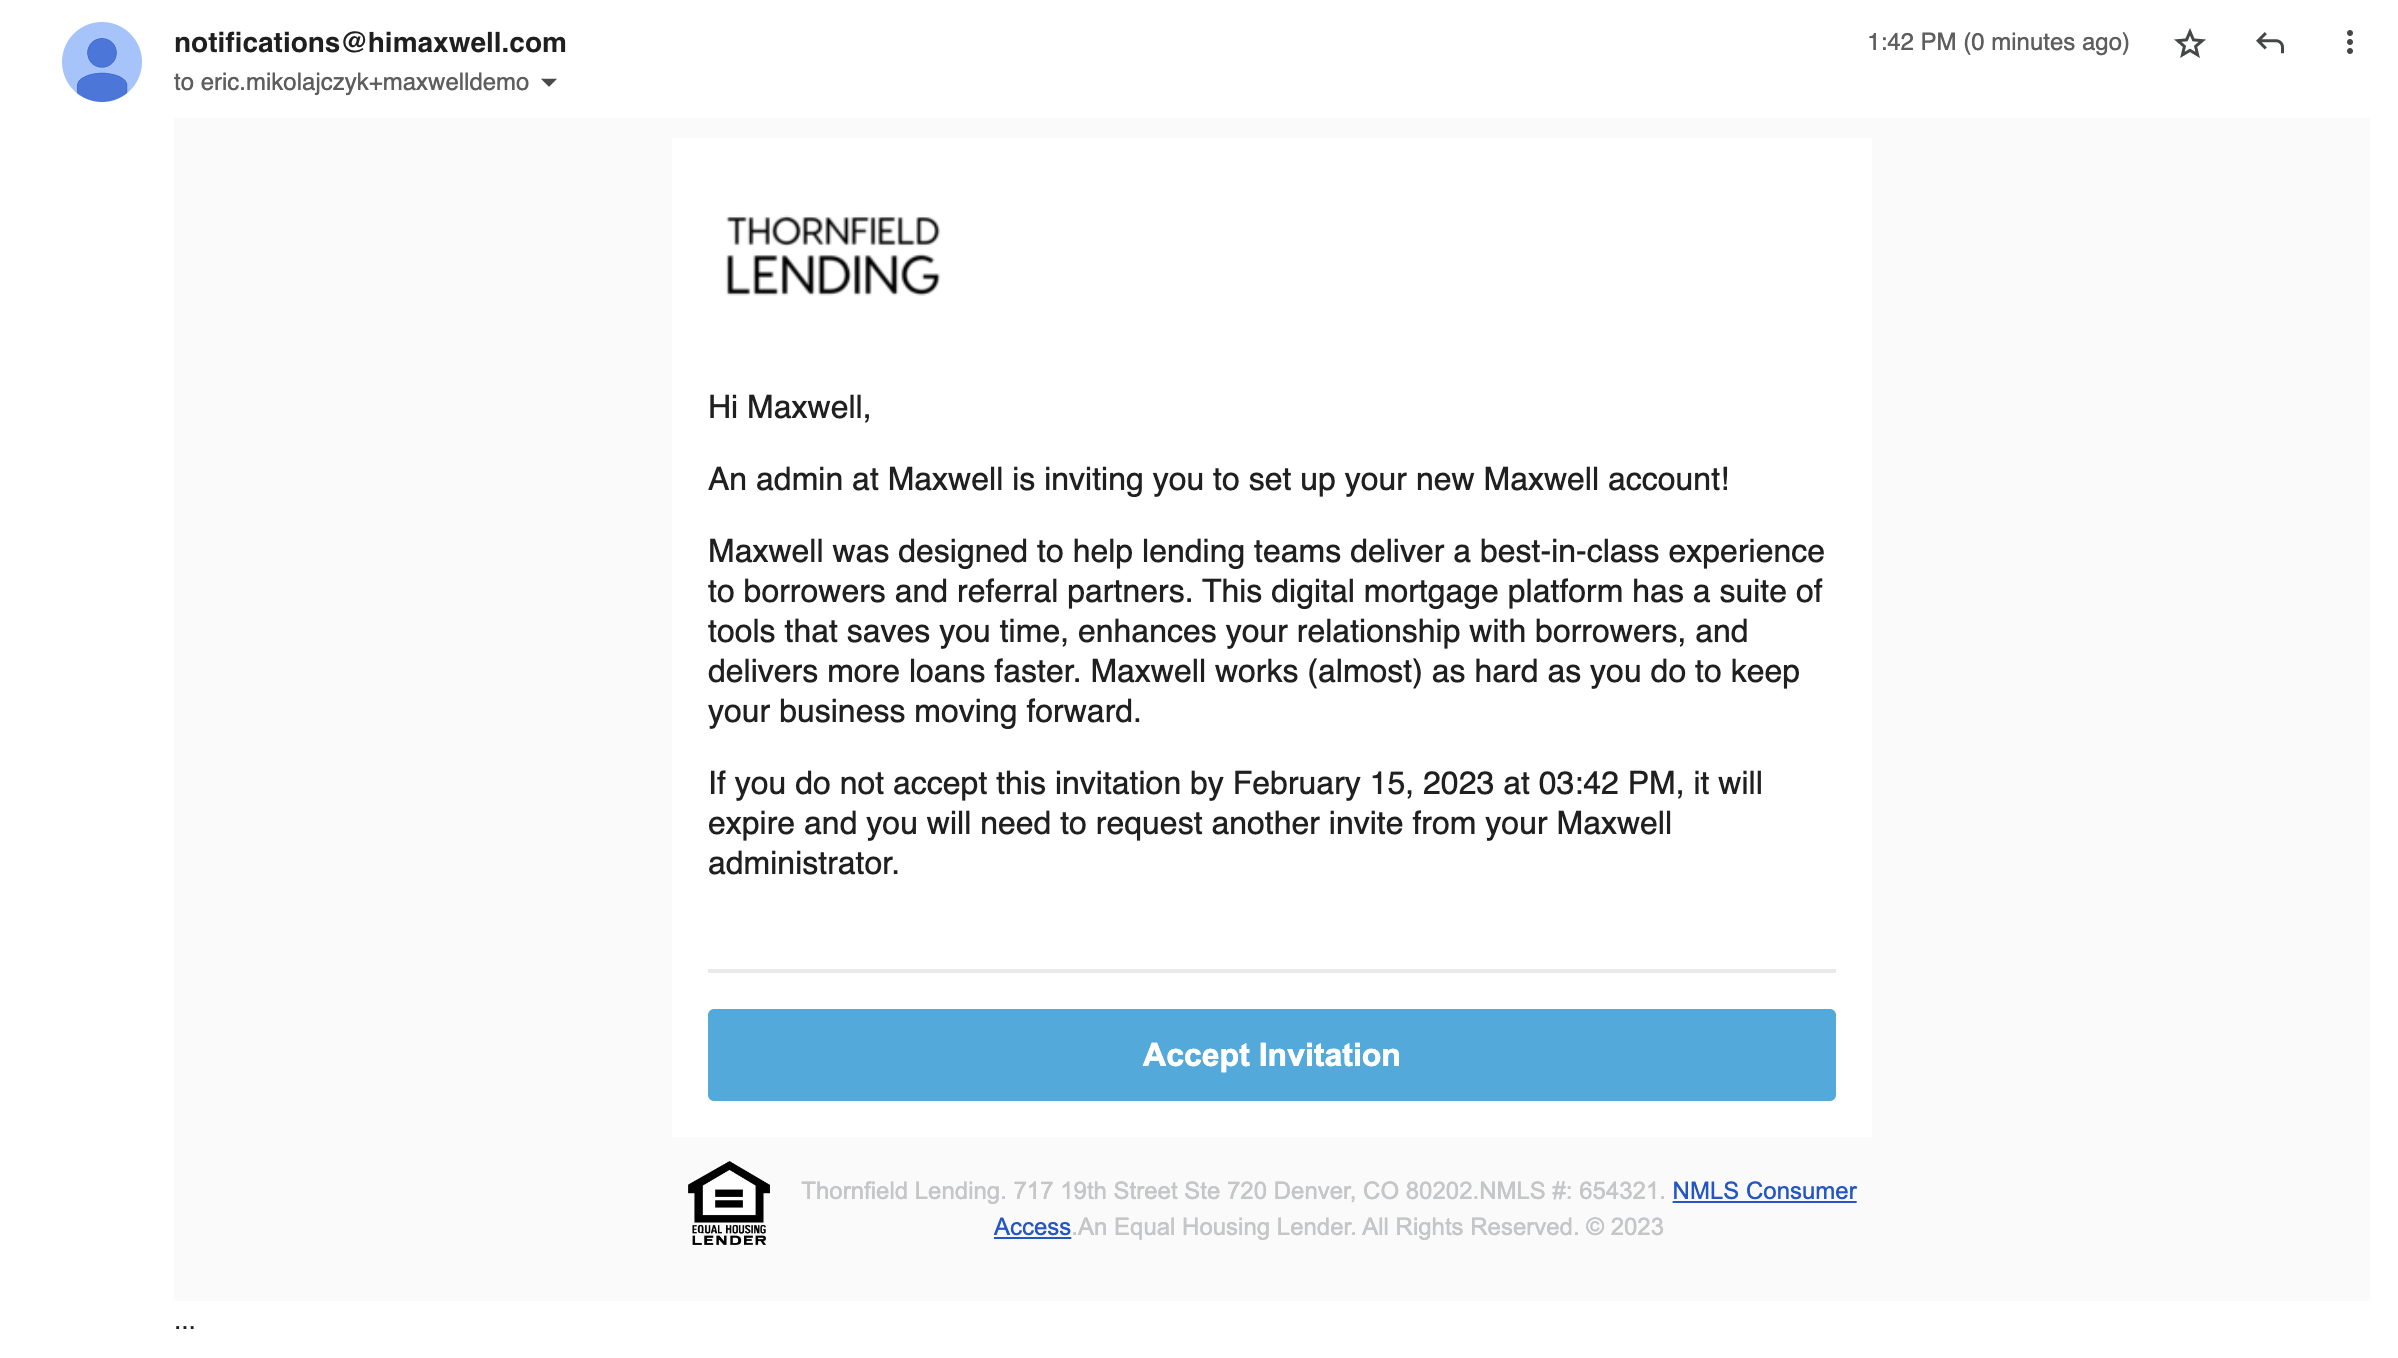
When your account is created in Maxwell, your Org Admin will an invite welcoming you to the platform. Contained in this email is a link that will direct you to set your password and get logged in for the first time.
Note: If you have not received your invite, reach out to your Org Admin so they can send it to you!
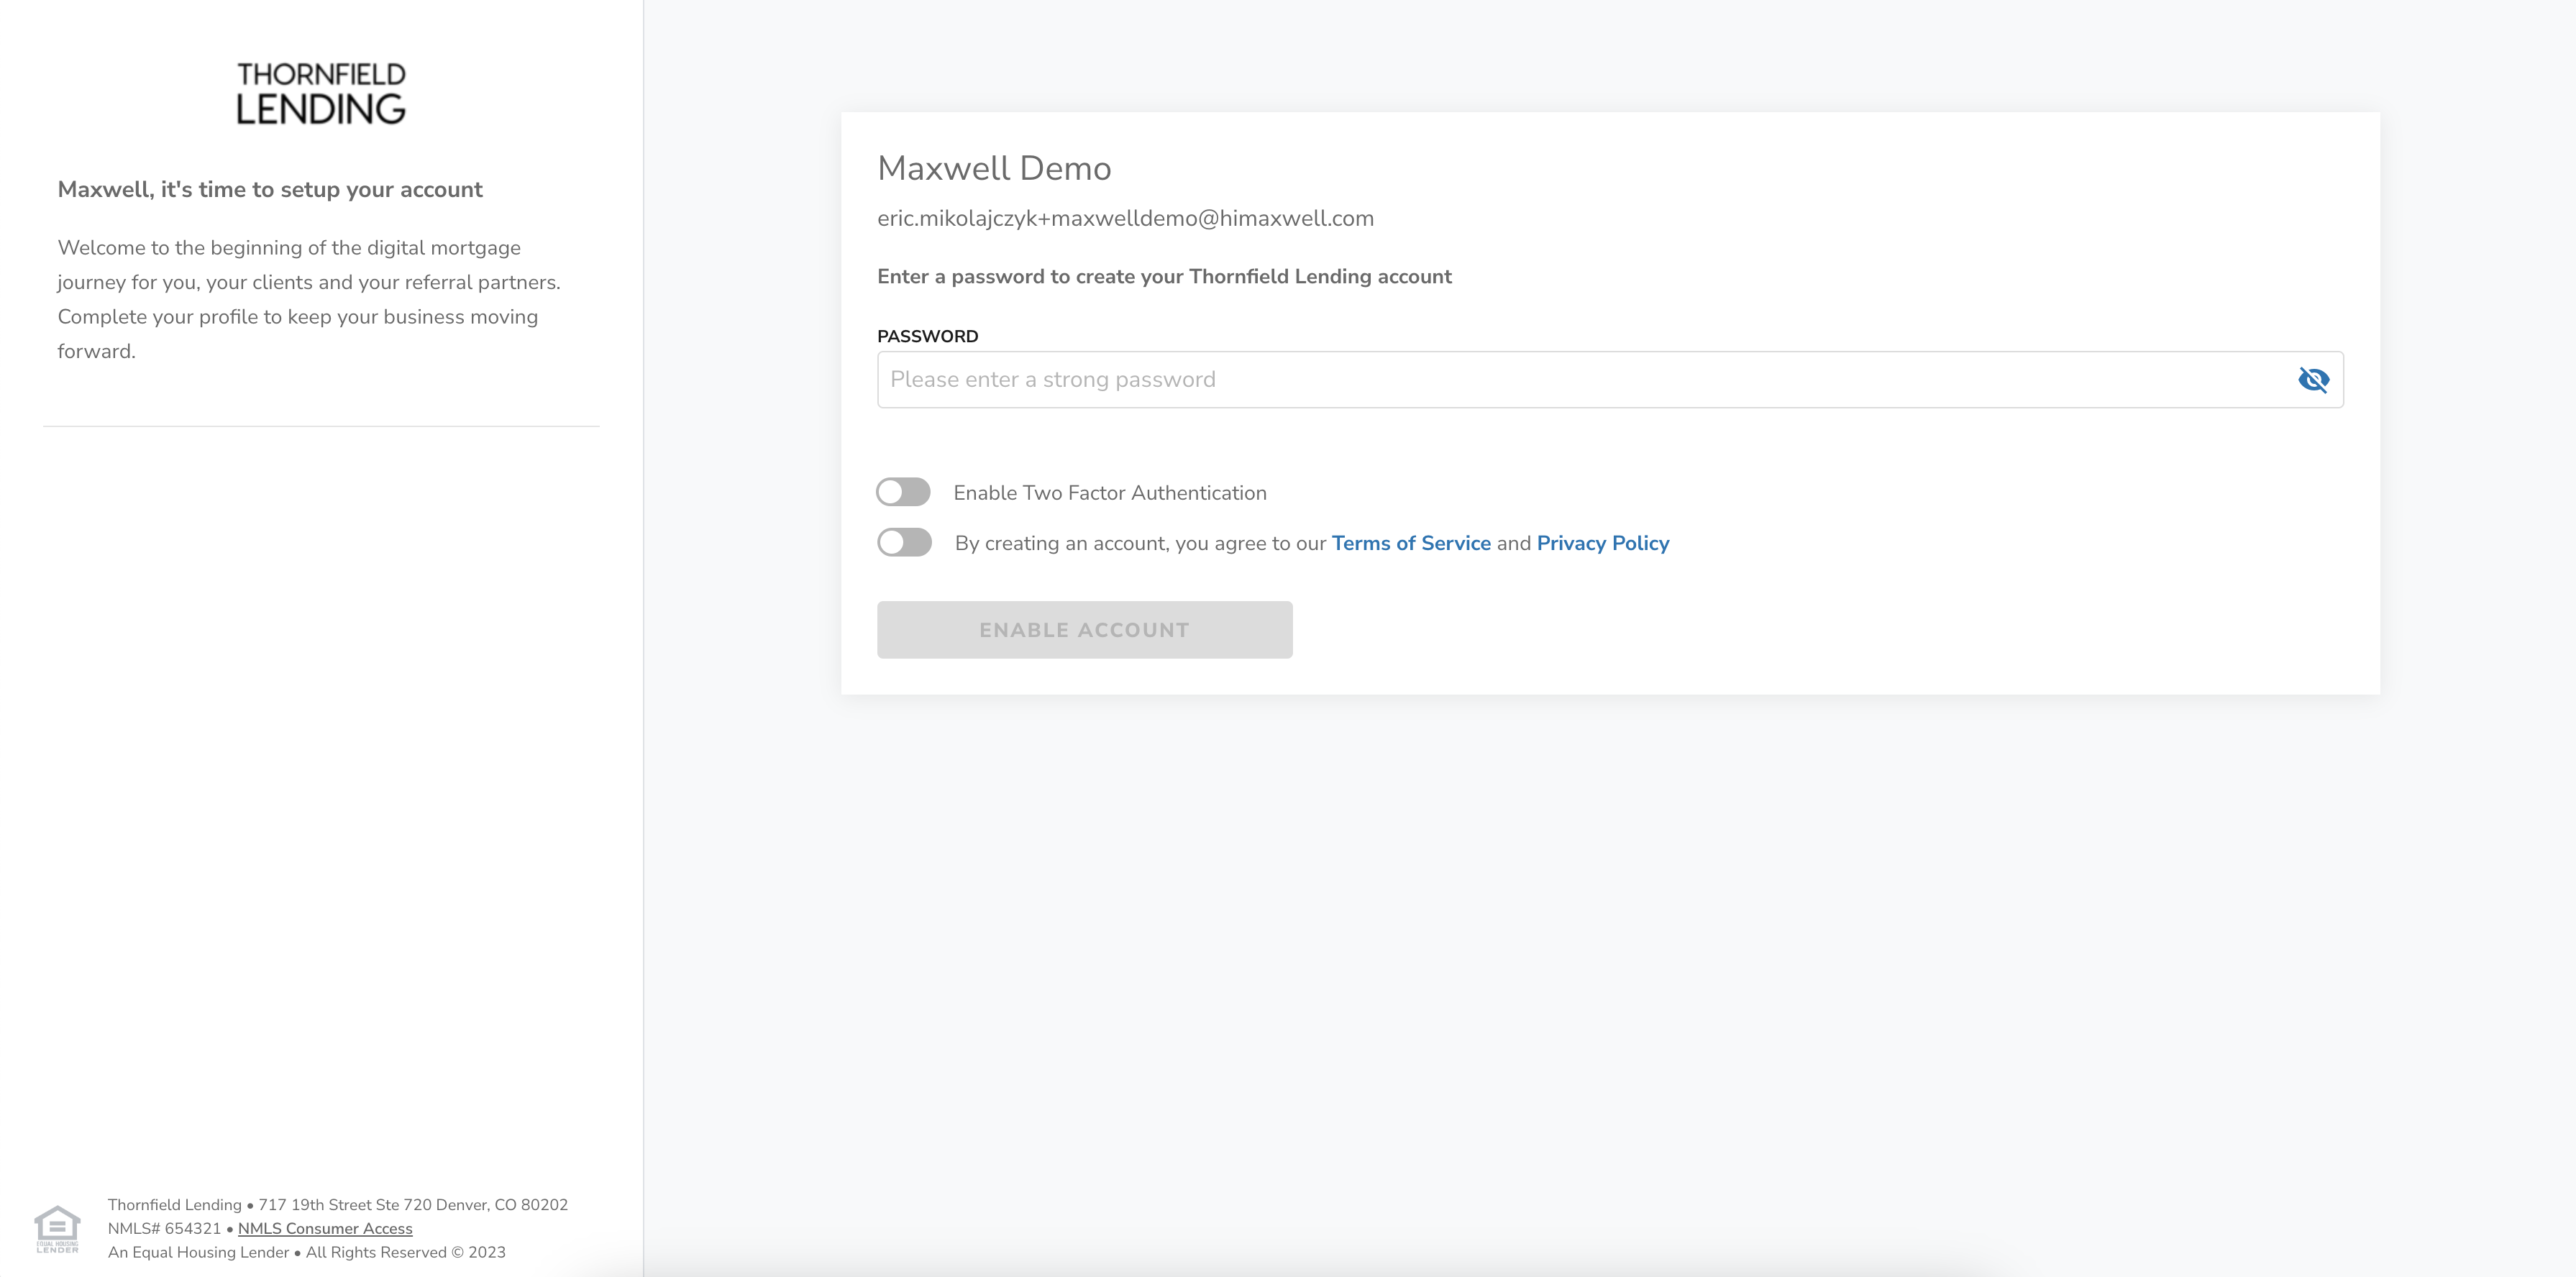
When you click “Accept Invitation” you will be brought to the screen below so you can set a password, enable 2FA (optional), and accept the Terms of Service/Privacy Policy.
Choosing a Strong Password
Creating a strong password (in addition to turning on two-factor authentication) is one of the easiest ways to keep your Maxwell account secure. For many years we were taught to create complicated passwords like “p@s$w0rDs!!”, but it turns out that longer pass-phrases are much more secure.
In 2018, the National Institute of Standards & Technology released guidance on creating more secure pass-phrases. We use this standard to evaluate your password when you change it. We will let you know if your password is too short, weak, okay, good, strong, or stronger. Shoot for making your password strong or stronger.
Here are some tips to help you create a strong/stronger password:
- Create a password that uses random words strung together
- Choose words that you can easily associate together, but aren’t easy to guess about you. Instead of the names of your kids or streets you've lived on, associate words that you know, but no one else would guess, like items from your living room, plants in your backyard, etc.
- Make these random words associated together into a picture in your head - this will make it easy to remember!
Note: Two Factor Authentication (2FA) requires a cell phone number. 2FA can be enabled when setting your password for the first time or set up later in Profile Settings.
Updating Your Profile
In the upper right corner of your Maxwell dashboard, you’ll see your profile picture or your initials if there is no photo. This is your Personal Menu where you can update your profile settings, access personal templates, contact Maxwell Help, and sign-out of Maxwell.
Depending on your role in your organization, there may be additional options in this menu.
Access Profile Settings by clicking on your personal menu in the top right hand corner and click “Settings” → "Profile Settings".
Upload a Profile Picture
Uploading a profile photo is easy and increases borrower trust when they can see your face.
- Navigate to Profile Settings and click on “Upload Photo”
- Choose the photo from your computer you would like to use
- Click “Open” in your File Explorer/Finder
- Adjust the circle and zoom slider as desired then click “Apply”.
Personal Details
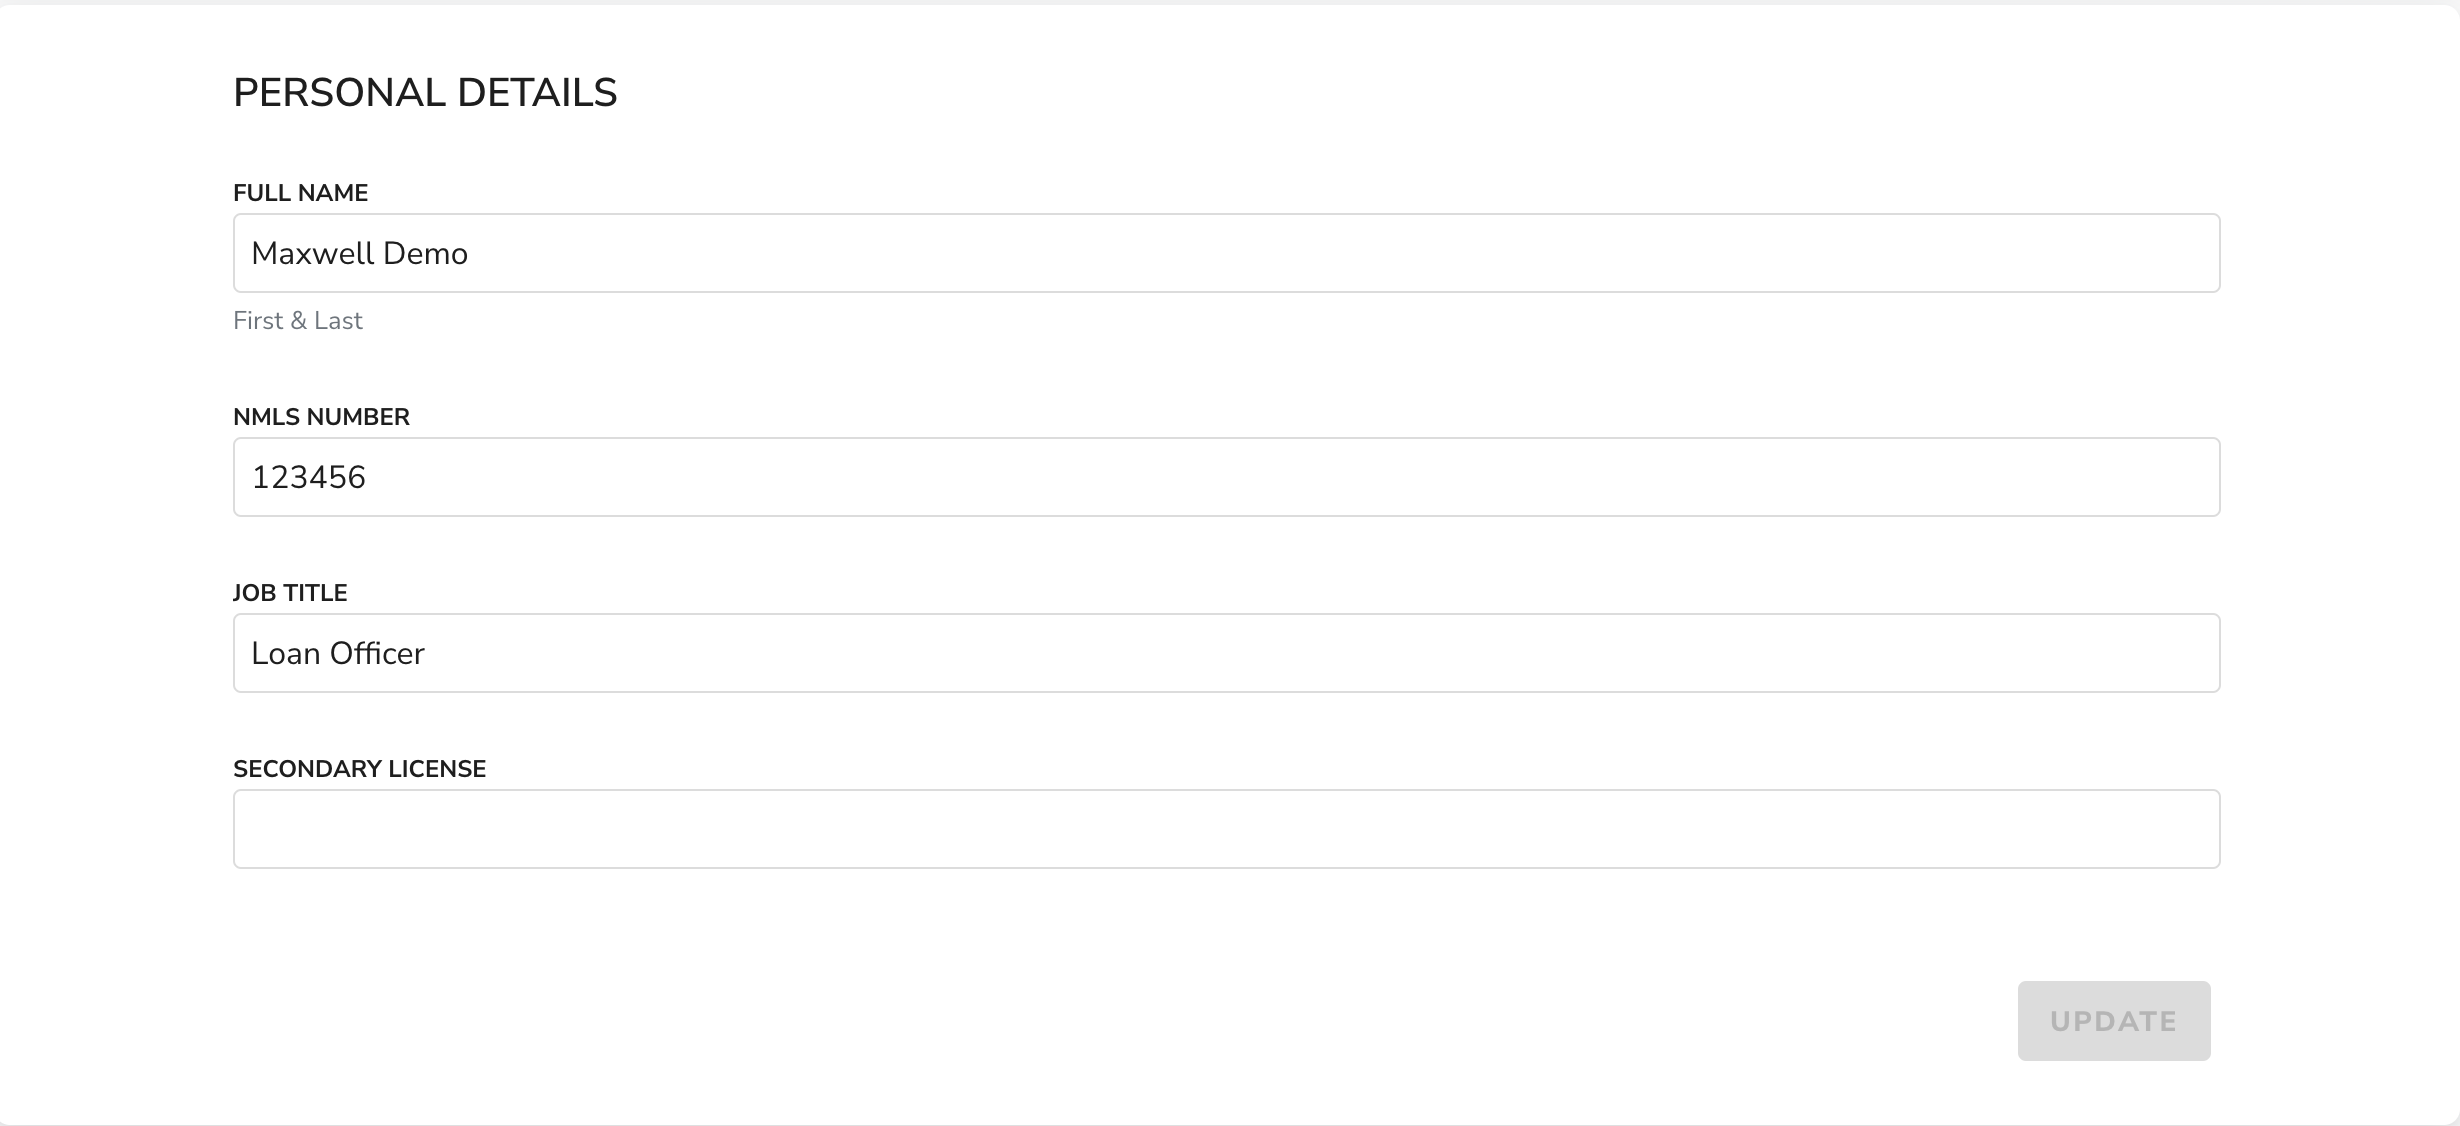
This sections allows you to update your name, NMLS Number, Job Title, and any secondary license that you may have. These are usually set whenever your account is first created, but these can be updated as needed.
After you have updated these fields as desired, click “Update” to save your changes.
Contact Info & Settings
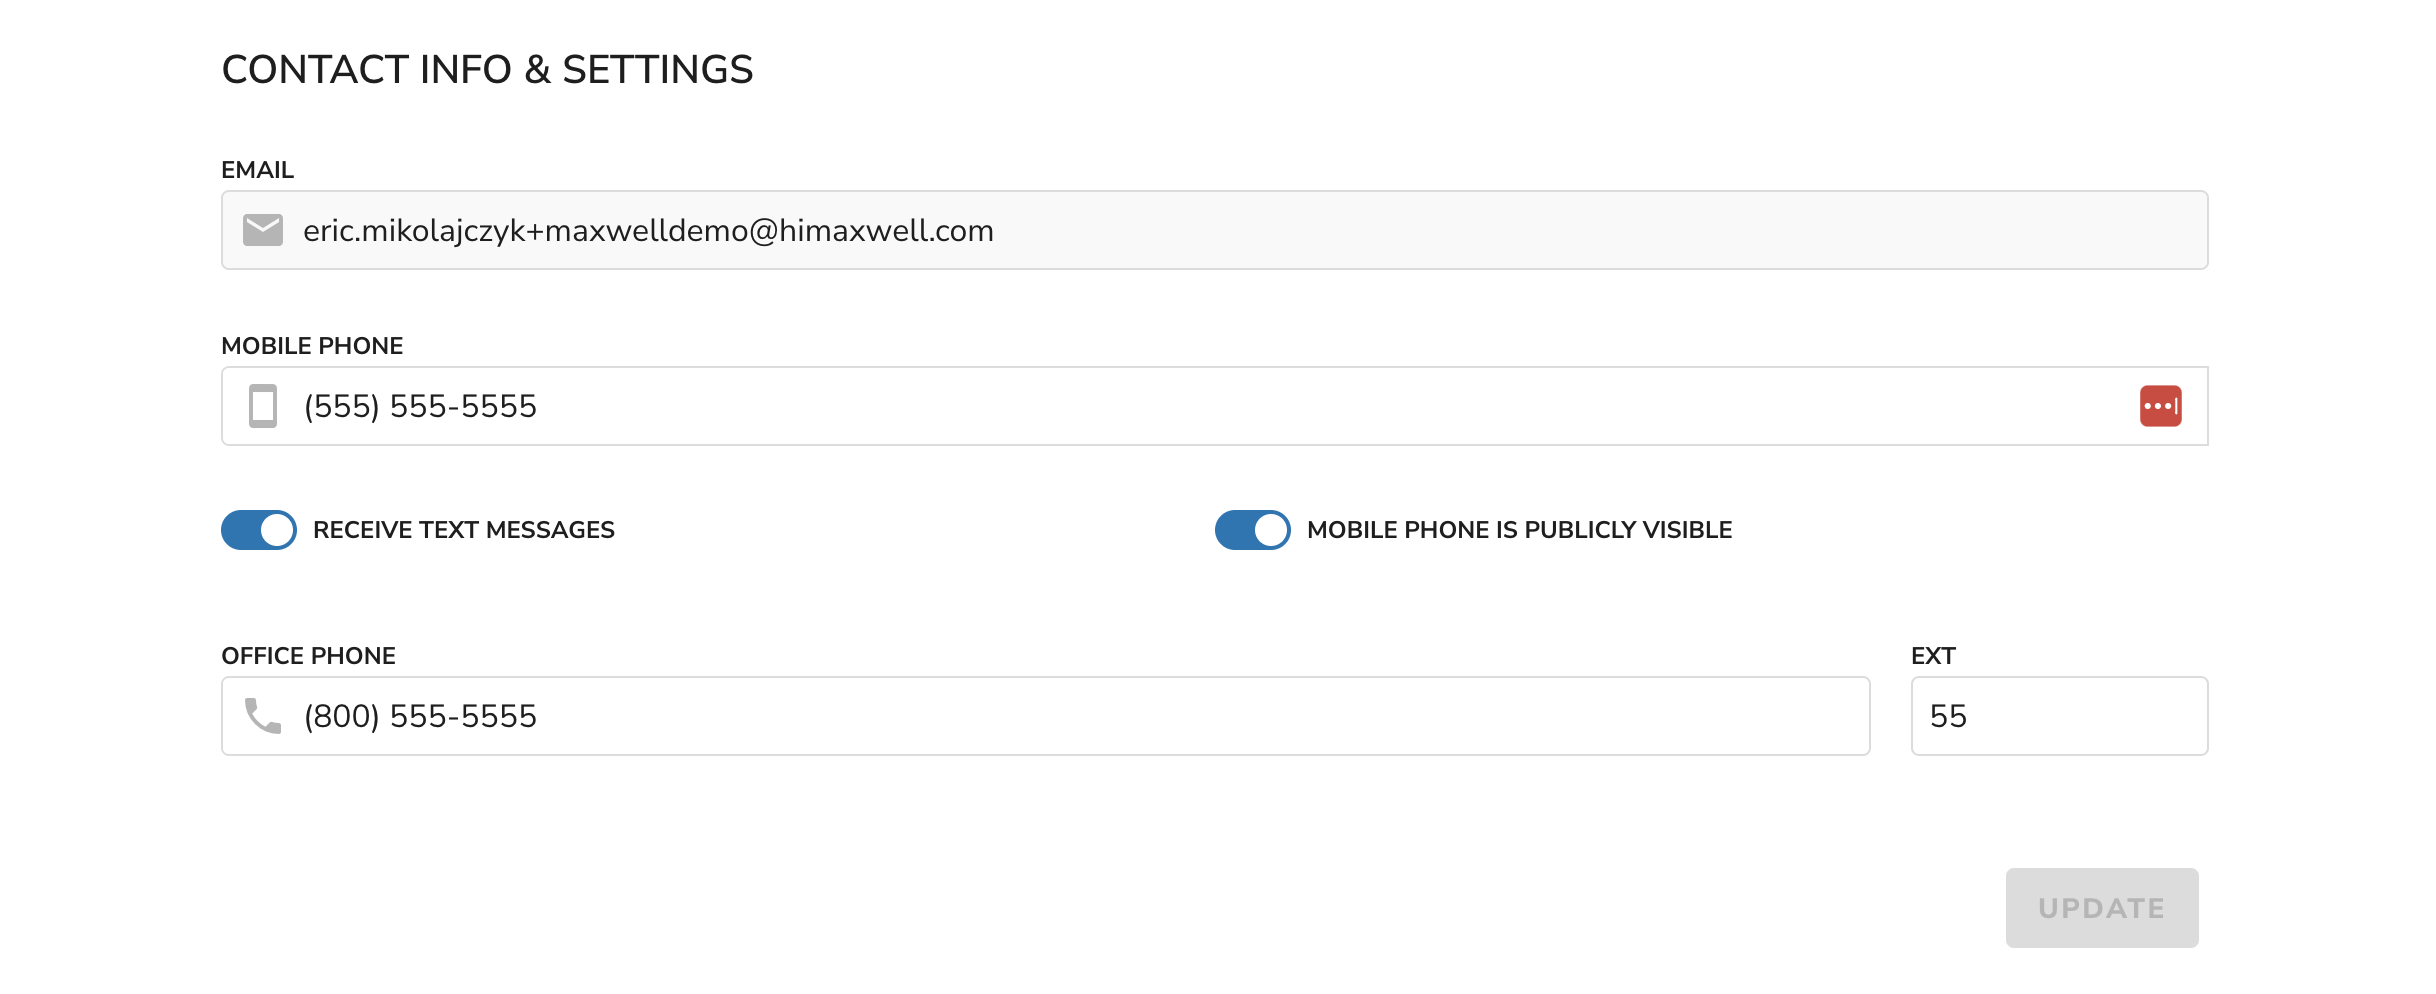
The section is where your phone number(s) and contact preferences can be updated. You are able to turn on/off text messages notifications and choose whether your mobile phone is visible to borrowers.
After you have updated these fields as desired, click “Update” to save your changes.
Password & Security
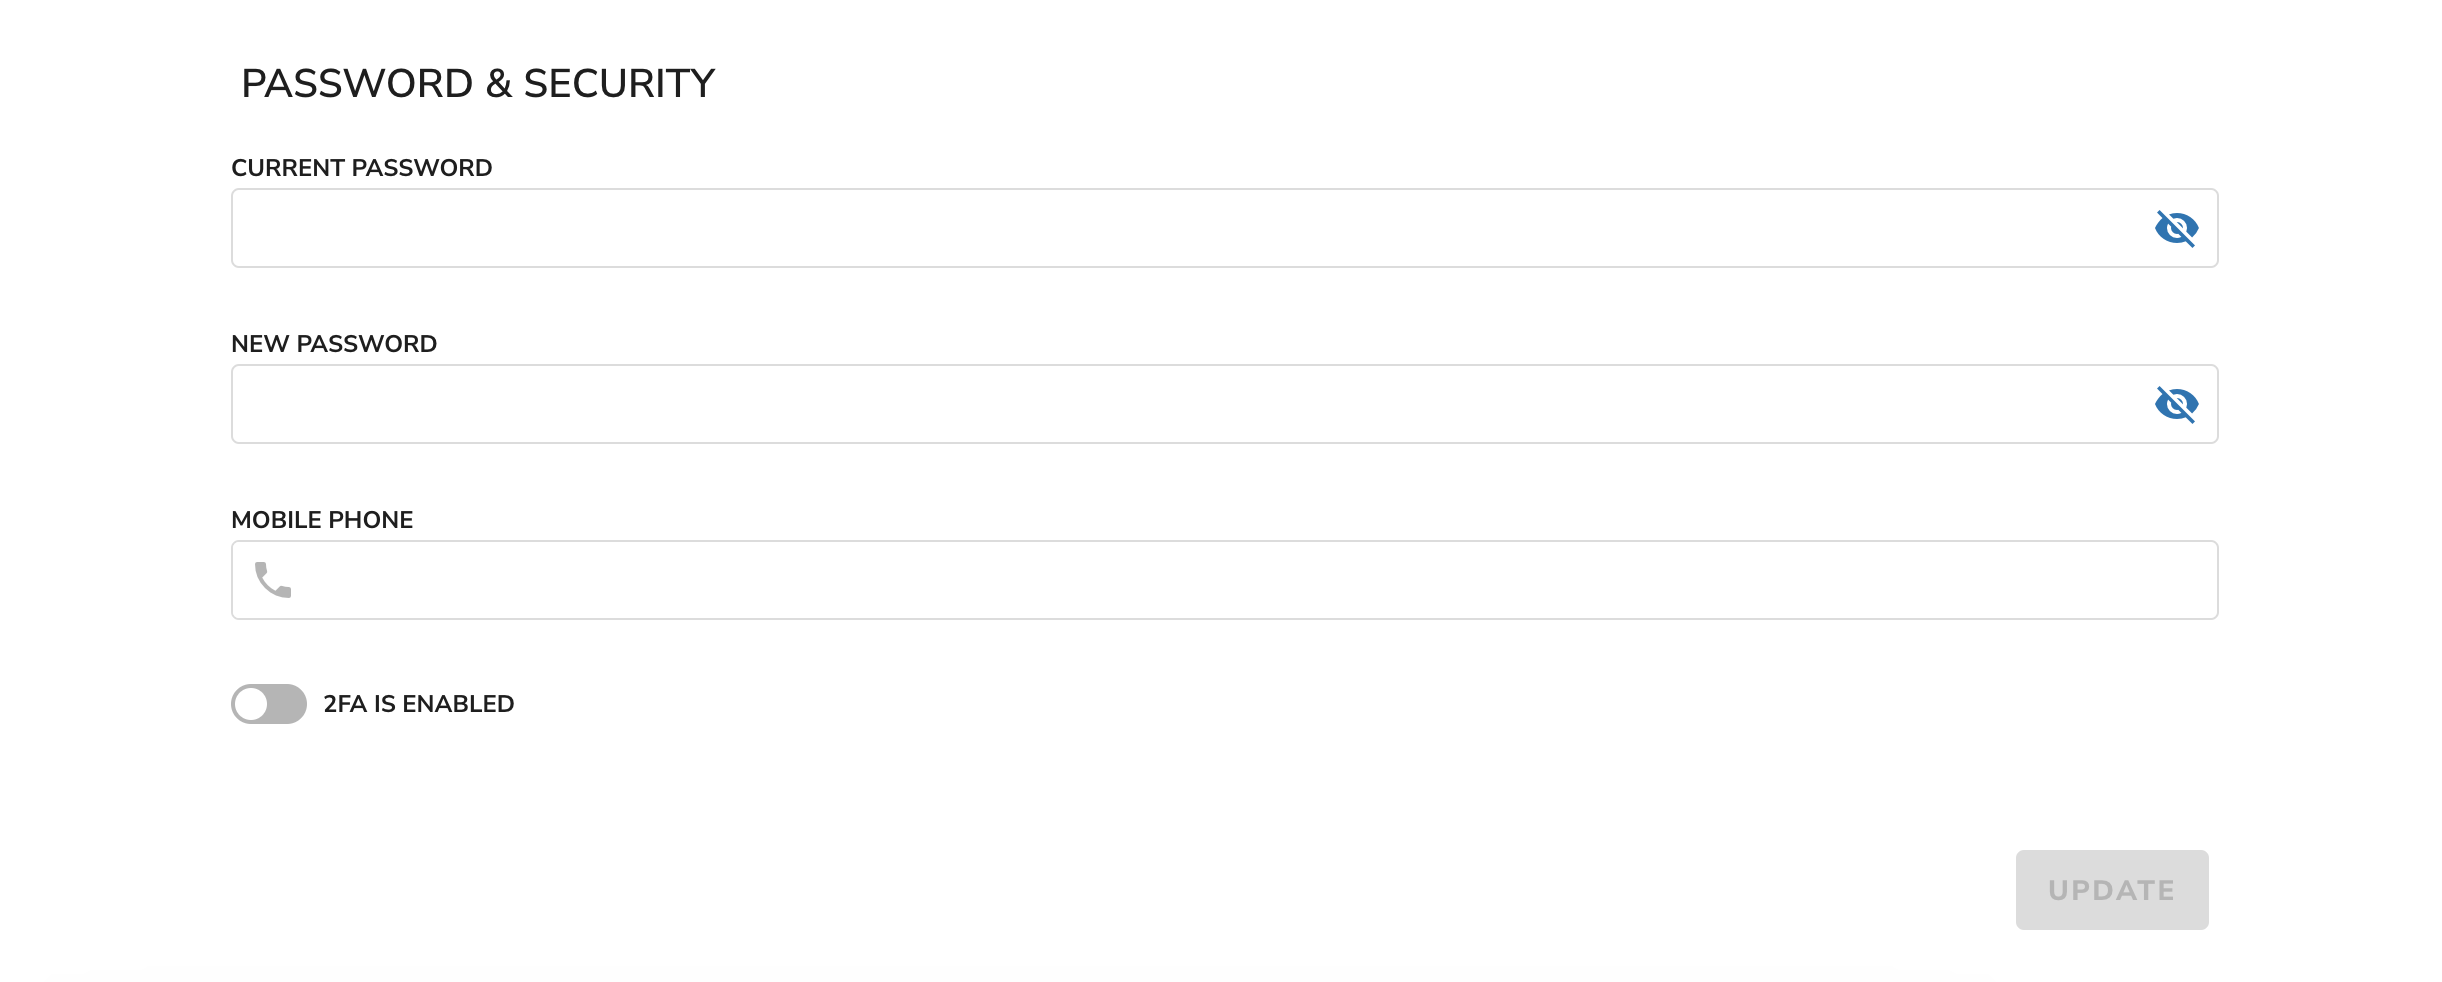
If you know your current password, you are able to update your password in this section. You can also add a mobile phone number and enable 2FA so that you will get a code when logging into Maxwell.
Adding Two Factor Authentication (2FA)
Two Factor Authentication adds a second layer of security to keep your information secure inside Maxwell.
- Navigate to Profile Settings
- Scroll down to “Password & Security”
- Enter in the mobile number in the “Mobile Phone” field
- Click the toggle for “2FA is Enable” (Blue means on)
- Click “Update” and a code will be sent to the mobile number
- Enter in the code received via text and click “Submit”
- 2FA is now enabled and you will receive a code when logging in!
Note: 2FA can be disabled by switching the toggle to off then clicking “Update”. It can be re-enabled at any time.