As an organization admin, you can access and modify how documents flow from Maxwell to Integra.
To access the Integra Settings:
- In the upper-right hand corner of the application, select the user profile icon to display the user dropdown
- From the user dropdown, select Settings→Integra Settings
Note: This option will only be enabled if your organization has completed your Integra integration. For assistance, reach out to help@himaxwell.com.
Document Management
Document Management allows you to define when and where uploaded documents are synced to Integra.
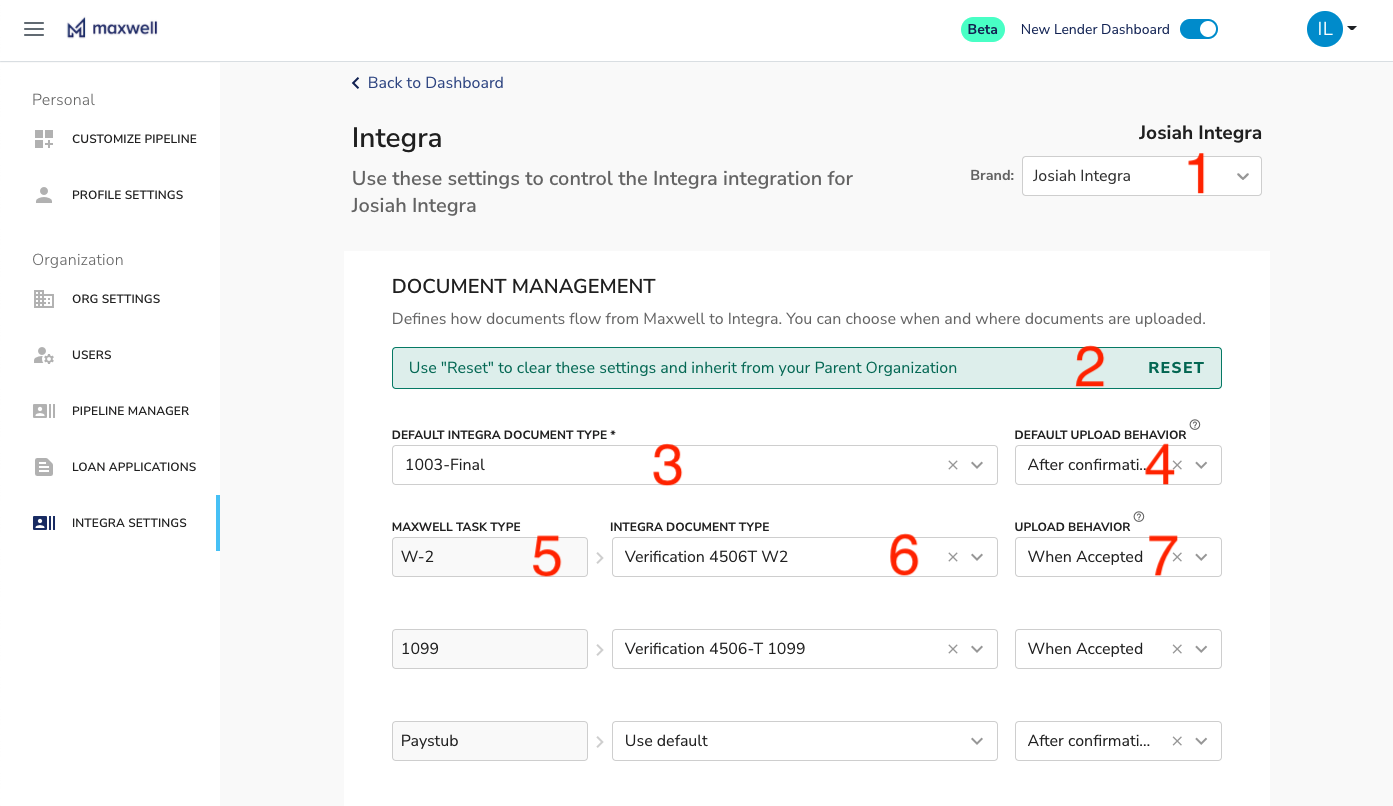
- Brand Dropdown: If you have access to more than one organization, you can select the desired organization from the Brand Dropdown. This allows you to define settings at any level of your organization and for those setting to be inherited by child organizations.
-
Inheritance Setting: Your Document settings can either be set at the current organization level, or inherited from a parent organization.
- If your settings are set at the current level, this will display a "RESET" button (as pictured). Pressing the "RESET" button will remove the current document management settings and reset them to the settings of the parent organization.
- If your settings are being inherited from a parent, this will display an "OVERRIDE" button. Pressing the "OVERRIDE" button will allow you to override the parent organization settings at the current organization level. Any children will then inherit from this organization.
- Default Integra Document Type: This document type will be used for all documents uploaded by the lender or borrower. However, it can be overridden on an individual task basis below. The document type list is automatically pulled and updated from Integra.
-
Default Upload Behavior: This behavior will be used for all documents uploaded by the lender or borrower. However, it can be overridden on an individual task basis below. The possible upload behaviors include:
- Immediately: Documents are uploaded as soon as they are received by the borrower.
- When Accepted: Documents are uploaded as soon as a lender marks the document “Accepted”.
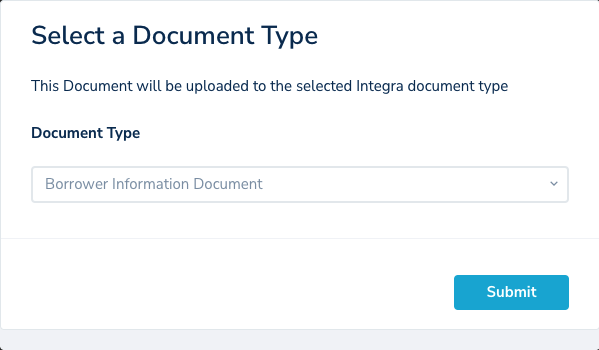
- After Confirmation: When a document is accepted, the lender must confirm the document type. This allows the lender to select a different document type for Integra.
- Maxwell Task Type: This controls document upload behaviors for a specific Maxwell task. You can choose a Document Type and Upload Behavior for each. Types can also use the default behaviors, as assigned above.
- Integra Document Type: For each task, this is the document type that the document will be assign in Integra. If "Use Default" is selected, this task type will use the default value defined above.
- Upload Behavior: For each task, this is the upload behavior when a document is uploaded by the lender or borrower. If "Use Default" is selected, this task type will use the default value defined above.